Your Cart is Empty


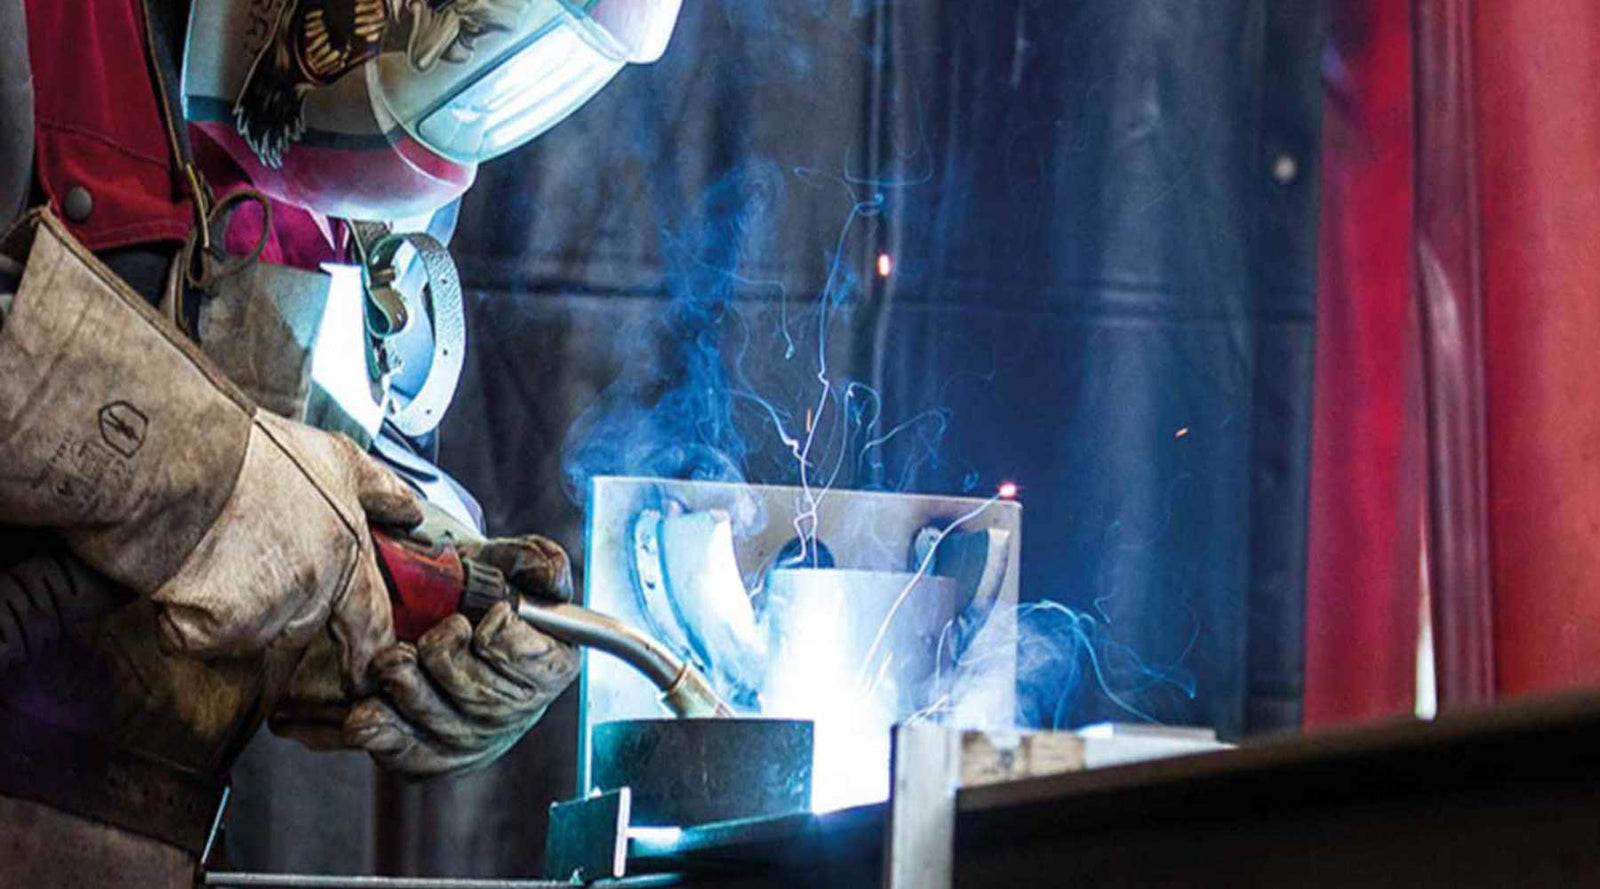
Welding current doesn't flow from the torch to the workpiece contrary to popular belief. The current travels from the earth clamp and returns to the welding machine through the torch.
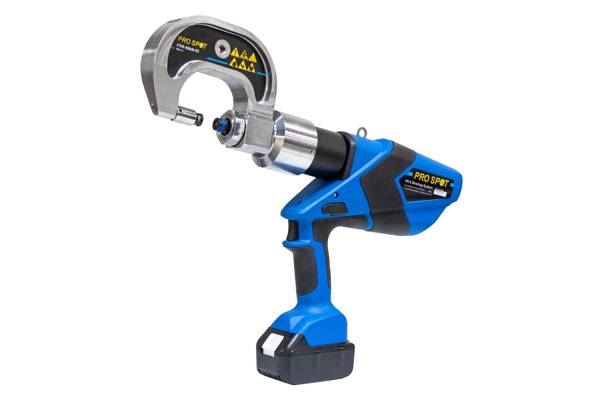
The earth clamp, therefore, is a very important part to check BEFORE welding.
Check the earth clamp is in good condition and that all the connections are tight. During use, the welding clamp should always be cool to touch. If its hot then its drawing welding current away from your weld pool. This could mean an incorrectly welded part of your weld joint.
This is especially important when welding aluminium or MIG Braze. Aluminium wire is fed at a far higher speed compared to steel and so any tiny fluctuation in the welding current can be immediately felt at the torch.
MIG Braze on the other hand uses a lower welding current to start with Typically less that 60A on most car body panels. Therefore losing even a few amps due to the earth clamp heating up can be felt at the torch.

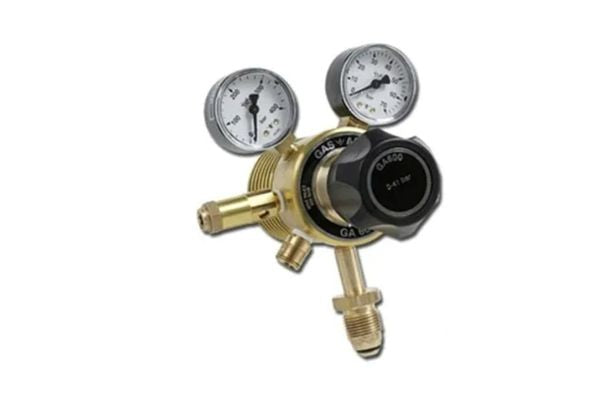
Correct Gas and gas flow is critical! Many people in the automotive repair industry still refer to welding as "MIG Welding" This is technically incorrect nowadays as we tend to use a "mix gas. The mix varies from manufacturer to manufacturer but typically most of it is pure argon with a small percentage of O2 and Co2.
The higher the percentage of the Co2 the hotter the weld pool will be and the more penetration achieved.
ARGOSHIELD Light: 5% carbon dioxide, 2% oxygen, balance argon
Best used for thin steels and the automotive industry.
(ISO 14175-M14-ArCO-5/2)*
ARGOSHIELD Universal: 12% carbon dioxide, 2% oxygen, balance argon
Best used for Light fabrication, gates, and railings, etc.
(ISO 14175-M24-ArCO-12/2)*
ARGOSHIELD Heavy: 20% carbon dioxide, 2% oxygen, balance argon
(ISO 14175-M26-ArCO-20/2)
Used for heavy industry
Therefore flow is important as the more gas you have the hotter the weld pool will be. It’s also possible to put argon bubbles into your weld.
Typically gas flow is 10 - 14 LPM ( Litres Per Minute) The thinner the steel and the lower the amps we would recommend lowering the gas flow.
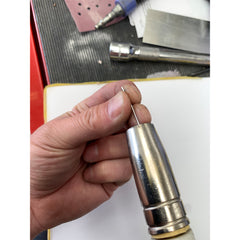
The contact tip is the current return to the machine as well as the feed for the welding wire. The contact tip is continually getting hot and cooling as you start and stop welding, this makes them come loose, therefore creating an irregular contact while welding (the same as the welding earth ). This creates spatter!
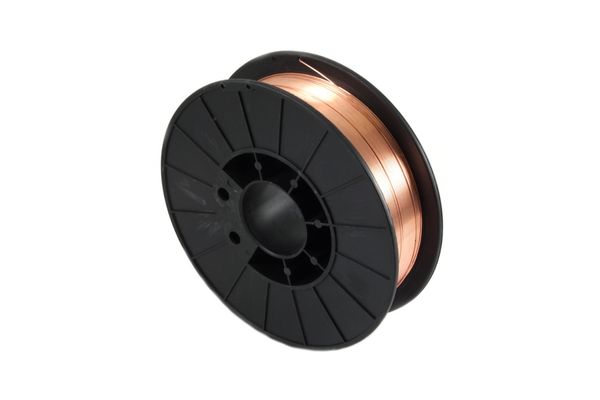
The other reason is MIG/MAG wire has a helical coil to it, as it’s wound onto the spool. This helical effect on the wire can make it snake about as it comes out of the tip ( especially on thinner wires and small spools). This movement of the wire can make it more difficult to get clean start ups more quickly. On thinner steels and especially butt welds it makes creating your weld pool quickly more difficult.
Always check contact tip condition, correct size and tightness.

Check wire tension is correct for the wire used. Believe it or not, too much tension is bad! It can cause pinch points on the wire as it runs between the drive rollers, these pinch points then can stick in the contact tip and cause contact shorts or worse inconsistent welding.
Believe it or not, aluminum welding wire is very rough so it’s easier to push through the rollers, but due to its low tensile strength it’s easy to pinch and also easy to “birds nest”. ( Birds nesting is where the wire keeps spooling after a blockage and winds up around the drive rollers and torch adapter ).

Correct joint preparation enables you to weld easily and consistently. Put simply, the closer and tighter your joint is the easier is to weld! Ensure the weld joints are cleaned with a suitable cleaner and in the case of aluminium, ensure the oxide layer is cleaned off the material with an abrasive.
BE CAREFUL if you use a detergent. Some detergents such as Brake cleaner should not be used, even after wiping off they can still leave a film on the surface of the material. Brake cleaner has been found to produce Phosgene gas which in high doses can kill.
Following these quick pre-checks prior to welding will vastly improve your weld quality and appearance.
If you require any more technical answers or just want to add to the debate then please leave a comment or contact us.
MORE POSTS THAT MAY INTEREST YOU


Comments will be approved before showing up.