Your Cart is Empty


We get this question asked a lot, that and how do I setup my MIG welder?
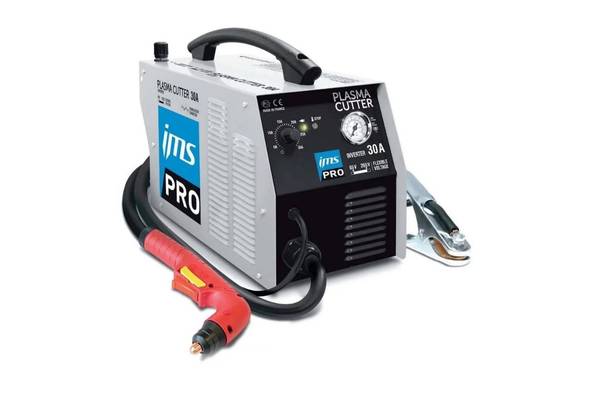
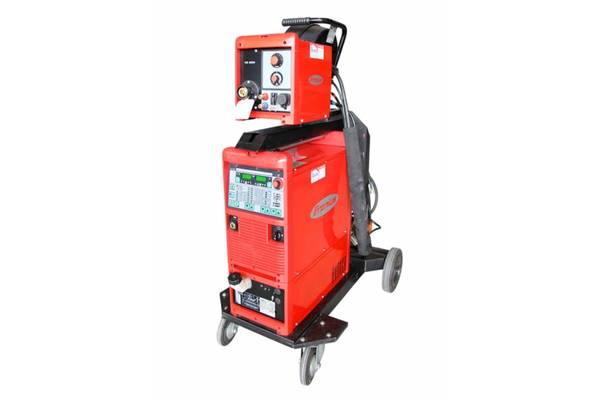
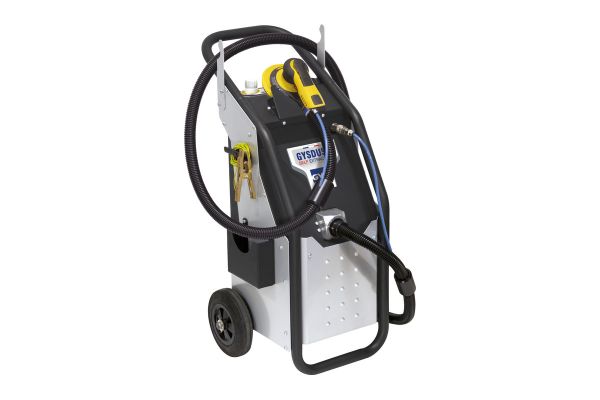
The increase of digital inverter MIG Welders has also made this question more pertinant as display panels have become more busy with lots of settings and flashing lights.
This question then can be broken down into two parts, Standard or Synergic MIG welders.
Let's look at these seperately and explain what the settings are and how to setup your MIG welder.

STANDARD MIG WELDERS
Most standard (usually transformer) MIG welders have a very simple control, consisting of a wire feed setting as well as a voltage setting.
The voltage switches the largest knob on the front of the machine as you are selecting windings on the transformer and they typically have settings 1-10.
1 is what you may select for really thin steels and 10 being the max.
The better the MIG welder the more of these settings you may have. A hobby MIG for instance may only have two ie; High/ Low.
This means you will only have two voltages to select from and so in many circumstances the settings may mot be right. This the main problem with hobby MIGs, they just aren't adjustable enough.
So we have taken a guess at what voltage setting we might need and now need to tune the wire speed to this voltage setting.

HOW TO TUNE YOUR MIG IN
To do this hold your MIG torch steady about 10mm away from a piece of practice steel.
Select your desired voltage.
With your hand on the wire speed knob, press your torch trigger and arc up.
At first it will sound horrible, all pops and bangs. Gradually turn your wire feed knob until the explosions sound nice and crisp, this is what we call the "resonant frequency" and basically means you have matched the amount of wire hanging out of your tip with the length blown of per second.
If you don't feed enough wire this would cause the wire to be exploding inside the contact tip and it will give you a hissing type of sound if it doesn't actually weld to the tip.
If you feed too much you are pushing more wire out of the tip than you are blowing off and this may cause lots of spatter or you may even feel the wire kicking and forcing you hand back as you weld.
Just back it off slightly and try again.

Don't move the torch when doing this procedure, moving the torch can change the arc length and this can then also change the sound that you're listening for.
Press the trigger for a few seconds and listen how quickly the explosions sound crisp and clear. This is then the correct wire speed for that voltage.
As a little indicator if you haven't moved the torch and stayed totally still the pool of weld that you have created should be perfectly circular with a small indentation in the centre.
Now you need to do a weld, if your welding on cars I would recommend another post called "why do I blow holes when MIG welding". This will show you the technique of welding car body panels correctly and get the nice "penny stacking" effect we all like to see.
Any question then please contact us by either email, website chat or phone, we are always here to help.
Comments will be approved before showing up.